It's that time of year again!
It is time to think about what to give "my kids" for Christmas. I am going to do the same thing that I have done the past 3 years....... SCARVES! This was a fun activity that my daddy helped me with the first couple of years. He always had fun helping me with my school projects!
This picture is the last time we made them together. We were trying to pass the time at his dialysis treatment. Daddy, age 90, was a very good "scarf holder". He took pride in his "job", although he used to always say, 'I don't work after 5pm". LOL I MISS HIM SO MUCH!!

This picture is the last time we made them together. We were trying to pass the time at his dialysis treatment. Daddy, age 90, was a very good "scarf holder". He took pride in his "job", although he used to always say, 'I don't work after 5pm". LOL I MISS HIM SO MUCH!!

YOU WILL NEED:
fleece blankets from Walmart
new sharp scissors
Cricut
HTV
patience
an hour of your time
These scarves are always a HIT and I am sure these little four-year old Pre-K students will love them too!
I bought the FLEECE blankets at Wal-mart for $2.50 each. Each one makes 6 scarves. That is about 42 cents each! Make sure to be the fleece ones. The other ones will not work.

After making the scarves, I used my CRICUT and a little (gold glitter) HTV (Heat Transfer Vinyl) from either Ante Up Graphics or 651 Vinyl if you need to order on line. If you are local you should visit the Country Gone Crazy in Baytown, Texas.
This is an easy and simple project.
First and foremost - enlist a helper!!

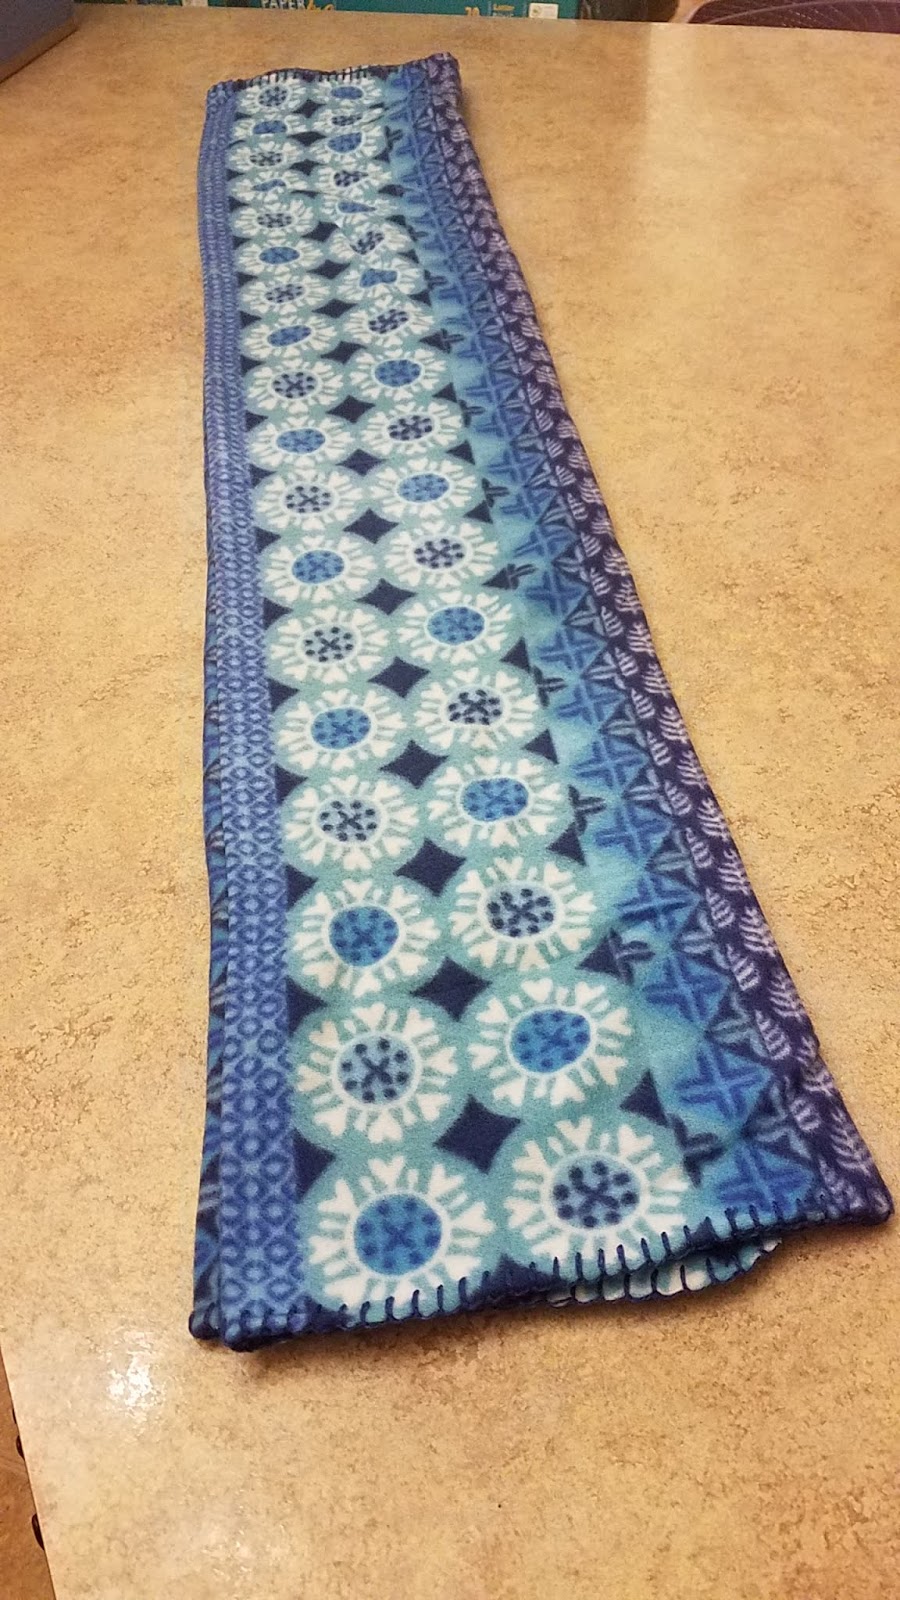
All you have to do is unroll the blanket.
STEP TWO
Take off the thread/hem on the edges.

If you cut it right, the thread will come off in one piece.

STEP THREE
Cut on the folds. Sometimes the blankets aren't really 50 x 60 so measuring really isn't necessary. They will be about 50 inches long and about 10 inches wide (maybe 9).
You might have to refold it to help straighten out the wrinkles. I didn't measure it. I just "eyeballed" it. I sort of used the pattern as a guide, but mostly just wing it.

STEP FOUR
Cut slits on the short ends to make fringe. I cut "eyeball" it. I don't measure. Cut about two inches up from the edge. Just enough so that you can tie a knot. You can make as many or as few as you want. I make about 6.


STEP FIVE
Use a Cricut or similar machine to design the names of your students. Iron on the HTV. YES, I just used my handy-dandy SUPER HOT iron. No need to break out the heat press for this.
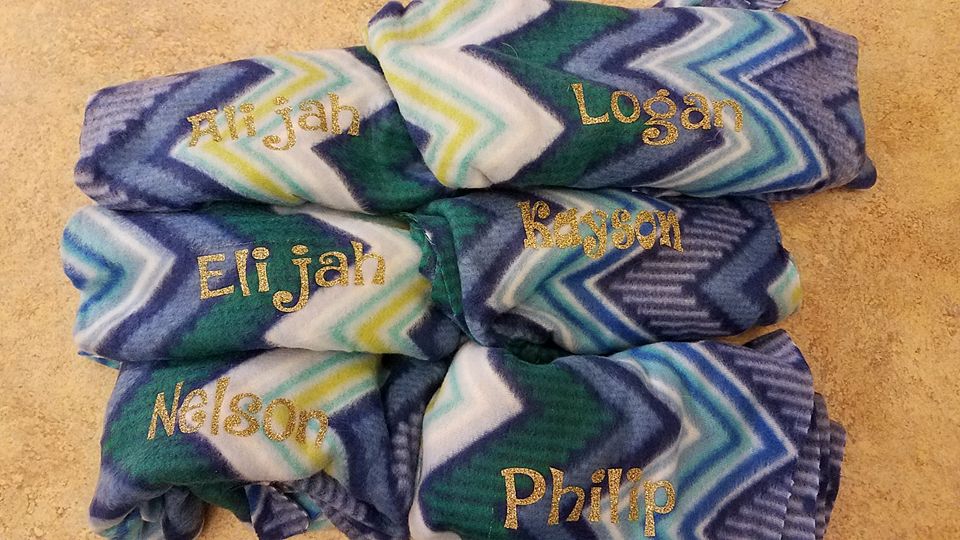
STEP SIX
Give to the students and they will LOVE THEM! (Parents will love them because they are washable! Plus with their names on them, they hopefully will keep up with them.)
If you want to save this for later....

You can pin it at https://www.pinterest.com/pin/365073113540794686/
Hope you will make some for your class!
Until next time........